Summer cookouts, I'm ready for you.

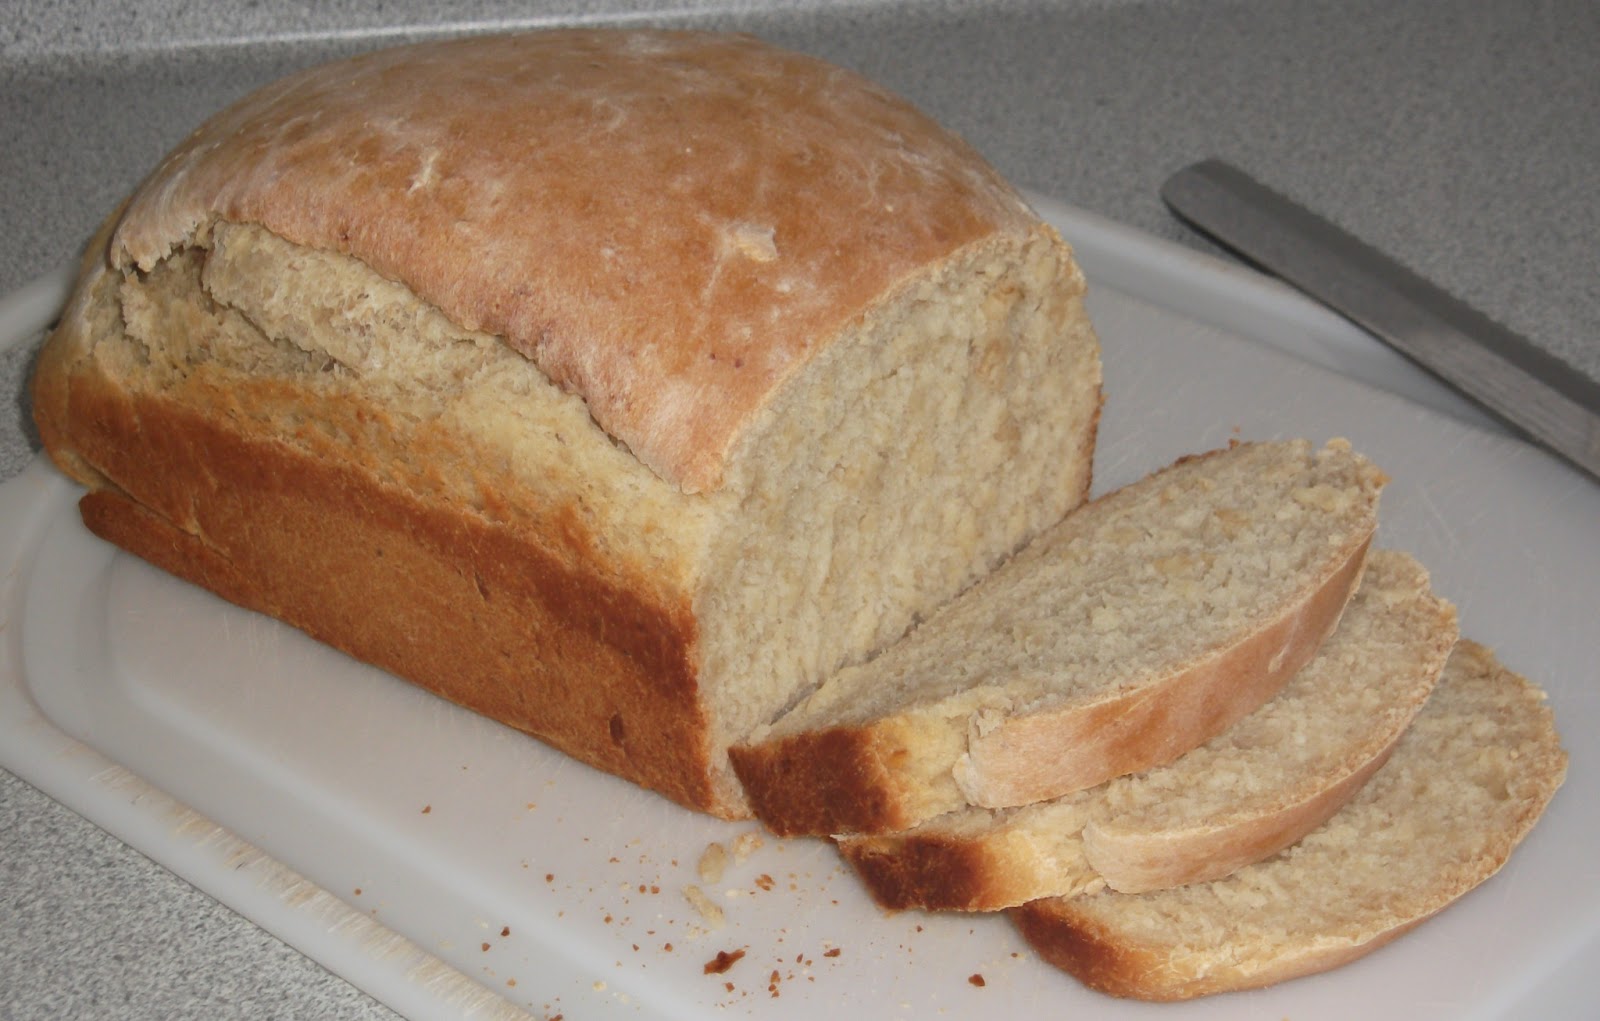
It turned out to be surprisingly easy. I used my Dinner Roll recipe, which you can find here. But I'm going to rewrite it here, because my process has evolved a little over time.
Dinner Rolls
Based on
Aunt Betty's Sweet Roll Dough
1½ C lukewarm water
1 T yeast
¼ C sugar
¼
C canola oil
¼
C instant potato flakes
½
C instant nonfat dry milk (9 T non-instant)
¾
tsp. salt
2
eggs
1½
C (6.4 oz.) soft white whole wheat flour + 3 C (12.8 oz.) hard white
whole wheat flour
Note:
This is my preferred flour combination. Other alternatives:
1½ C (6.4 oz.) soft white whole
wheat flour + 3 C (12.8 oz.) hard red whole wheat flour
1½ C (6.4 oz.) soft white whole
wheat flour + 3 C (12.8 oz.) all-purpose flour
4½ C (19.2 oz.) hard white whole
wheat, hard red whole wheat, or all-purpose flour
Pour
warm water in stand mixer (KitchenAid) bowl. Add sugar, yeast, and
the soft white whole wheat flour. Using the paddle (not the dough
hook), mix on lowest setting while adding the canola oil, potato
flakes, dry milk, and salt. Stop the mixer and add a few spoonfuls of
the hard white whole wheat flour, and then the eggs. Resume mixing on
lowest setting; add the rest of the flour, and continue mixing for 5
minutes. Turn off mixer and cover the bowl with damp kitchen towel.
Let dough sit for 30 minutes.
On
a clean, dry counter, sprinkle about ½ C hard white whole wheat
flour. Have some more on hand, just in case. Lower the mixing bowl
and detach the paddle, disturbing the dough as little as possible.
Use a wet spoon to scrape dough from the paddle into the bowl. Use
the wet spoon to scrape the dough from the bowl onto the floured
counter. It will come out fairly easily because of the rising.
Knead
the dough 40-50 times, until it is smooth and elastic, but not dry.
Place
the dough in a large bowl with a small amount of canola oil to coat
the surface. Cover with wax paper or plastic wrap. Set in a cold
place—probably the refrigerator—for 1½ hours.
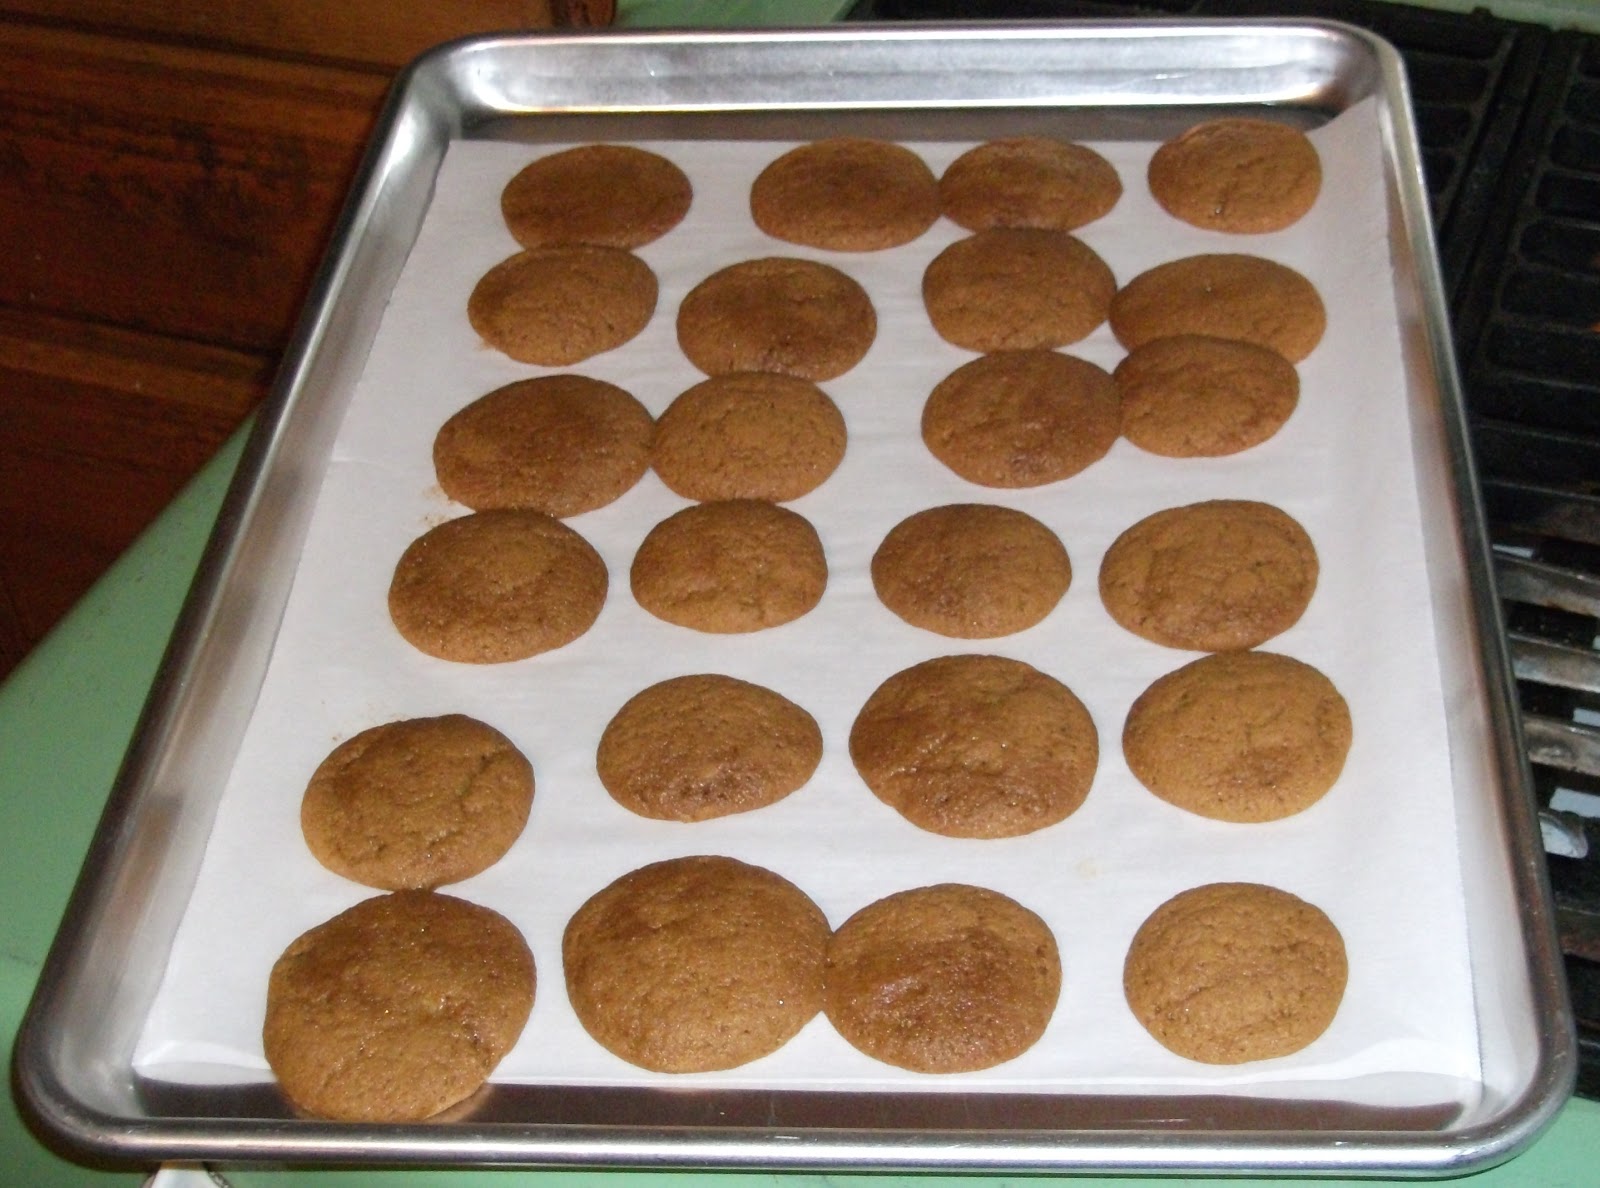
Punch
down the dough and fold it a few times. Divide it into 24 pieces. A
dough scraper is great for
cutting the dough. Form each piece into a ball by stretching
the top and pinching the ends together at the bottom. Place the rolls
about ½-1 inch apart on buttered (or parchment papered) baking
sheets. 24 fit nicely on a baker's half sheet. Cover the rolls; let
rise at warm room temperature for 45 minutes. If your baking sheet
situation is such that you won't be able to fit all of the rolls in
the oven at the same time, set the ones that will have to wait in the
refrigerator, setting them out again when you put the first ones in
the oven.
For
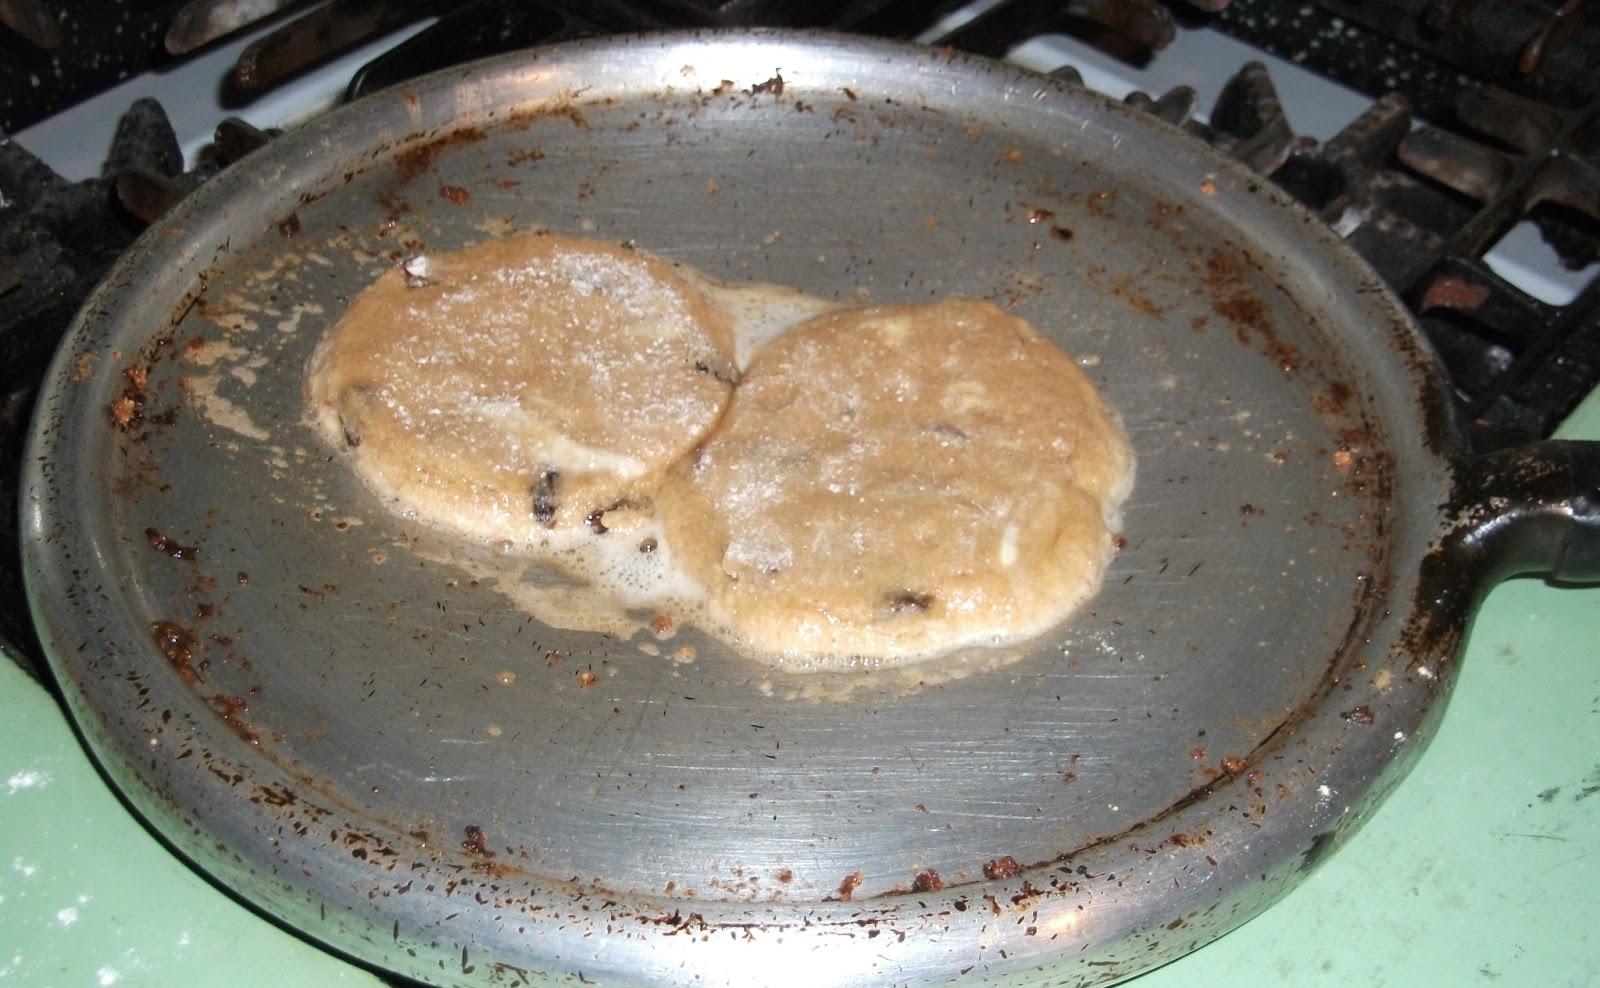
Hamburger Rolls:
After making the balls, flatten each ball into a 3-inch round. Place
the rounds about ½ inch apart on buttered (or parchment papered)
baking sheets. 12 fit nicely on a baker's half sheet.
A
few minutes before the rolls are finished rising, preheat the oven to
400°F. Bake the rolls at 400°F for 5 minutes; reduce temperature to
350°F and continue baking another 10-12 minutes, or until the rolls
are browned on top. Remove the pan from the oven and set to cool on a
rack.
After
the rolls are completely cool, put them in clean plastic bags. Freeze
any that you will not use within a couple of days.


